イベントレポート
Safecast Workshops
HeisePhilipp
Introduction
On Saturday the 8th of December and on Sunday the 9th of December, Safecast held two workshops at different locations. The first one took place at the NIAV, the Nishiaizu International Art Village, in Nishiaizu and the other one took place at the University of Aizu in Aizuwakamatsu. Both workshops were sponsored by CSLA (a financial company) . I participated on both days and in this blog, I will go over my experiences at these workshops.
Safecast
For those of you who read my last blog about the Safecast Hackathon, I don’t need to explain what Safecast is. For those of you who don’t know, I will give a short explanation. “Safecast is an international, volunteer-centered organization devoted to open citizen science for the environment” (Extracted from: Safecast: ABOUT SAFECAST, https://blog.safecast.org/about/ (2018.12.12)). Safecast was founded in 2011, right after the big earthquake and the meltdown of the Fukushima Daiichi Nuclear Power Plant. At that time, there was no easy way to get some radiation data. Because of that, the founders took it into their own hands, build a Geiger counter and measured for themselves. Today, Safecast has over 111.000.000 measurements in their database, gathered from people all over the word. Everything is open source, that means everyone can easy view the data within the Safecast-Map or get the data for research for free.
NIAV
Preperation
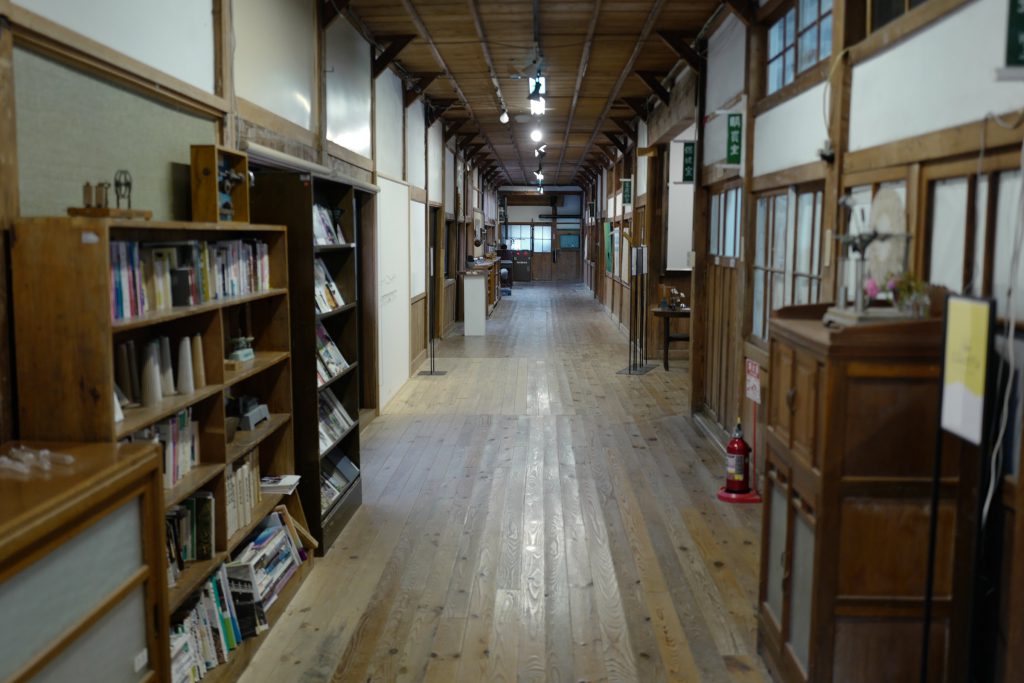
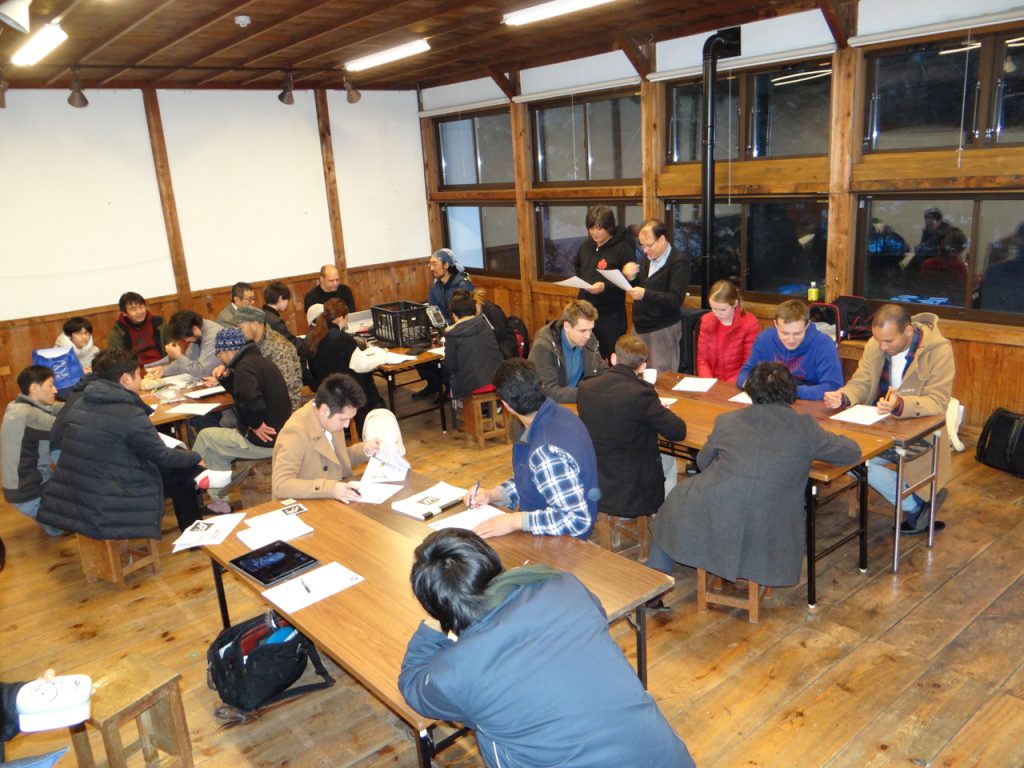
The first workshop took place in an old school building at the Nishiaizu International Art Village.
First, we discussed, what kind of workshop this should be. We decided to do the citizens science workshop with three different stations. The participants would be divided into three groups, one for each station. Each station would last about 45 minutes. After that, the groups would rotate to the next station until every group has seen every station. The topics for these stations where:
- Introduction of radiation, Safecast and citizen science
- Building a kGeigie
- Radiation demonstration and measuring
For that purpose, we used two rooms, one on the first floor and one on the second floor. We did some small preparations and most importantly, we heated up the rooms.
Event
We had 27 participants, so each group had nine members. Luckily, we could make two groups with only Japanese speaking participants and one English speaking international group. Our group started at the radiation demonstration station. There, we learned about the three different kinds of radiation:
- alpha particles
- beta particles
- gamma waves
The properties of each of these where practically demonstrated. While the alpha particles were completely blocked by a mere piece of paper, the beta particles could easily go through it. But they were stopped by a piece of aluminum. The gamma waves on the other hand, couldn’t be stopped by neither a piece of paper nor aluminum.
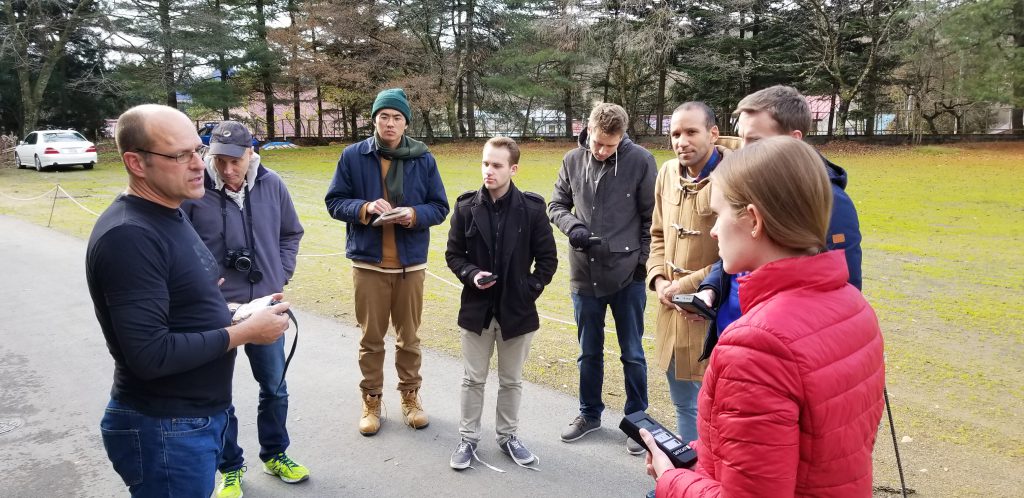
The 45 minutes quickly went by and we had to take some additional time to go out to measure. Everyone got a Geiger counter and went for a short walk to measure some things in the environment.

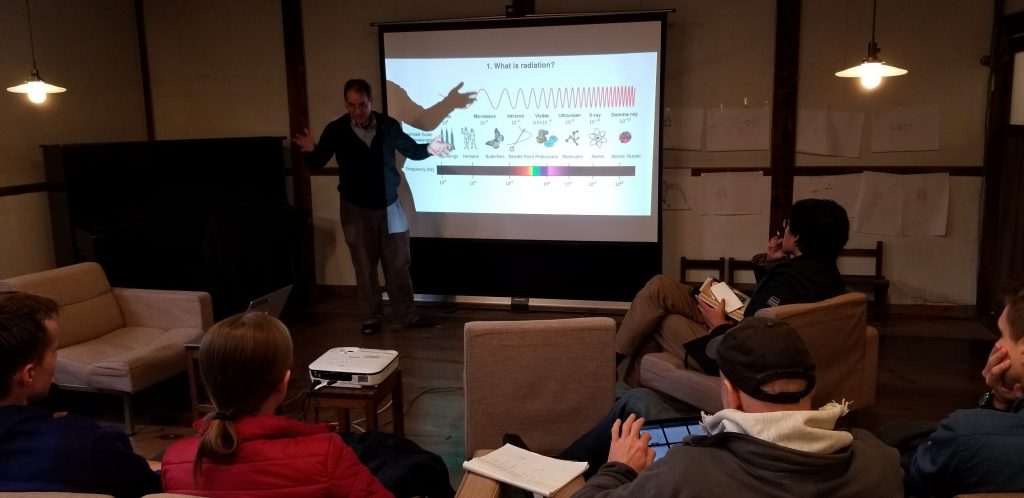
After we went back inside, we went straight to the next station. Our next station was the introduction presentation for radiation, Safecast and citizen science. In this presentation, we learned some more theoretical explanation to the practical things we learned at the first station. Also, we got some information why Safecast exists and what exactly citizen science is.
At the last station, everyone got a kGeigie – Kit and tried to assemble it.
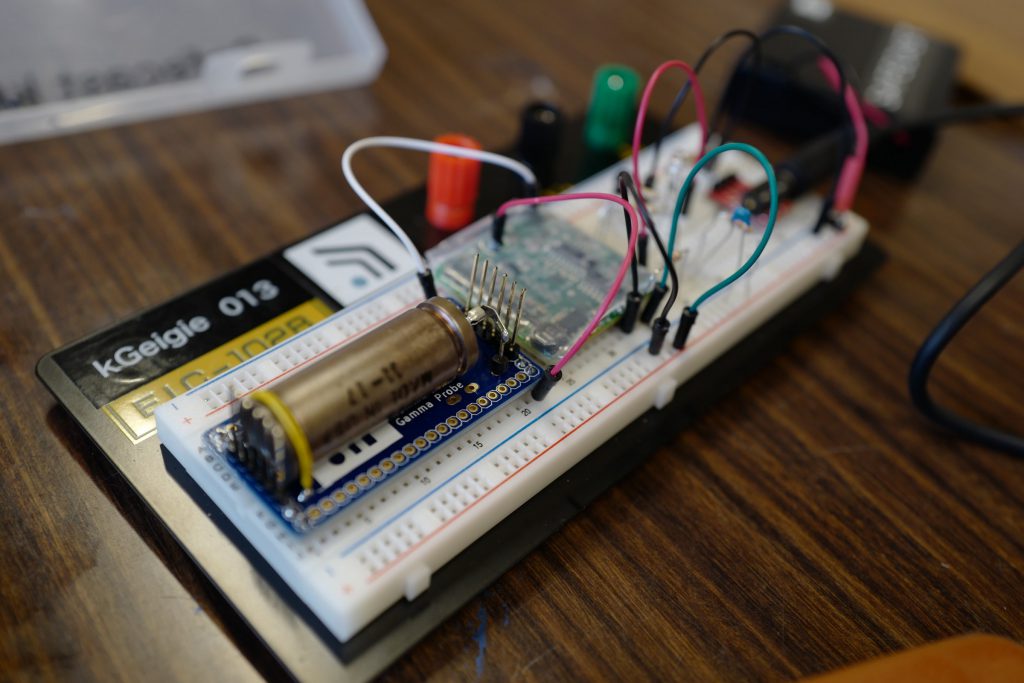
This wasn’t that hard, because you only needed to put all the parts at the right place. No soldering was needed. Because of that, even kids could easily do this part of the workshop, too. After the assembling was done, we tested the Geiger counter with some small radioactive materials. We also tested some other materials, if they could block the radiation. At the end we needed to dismantle the kGeigie, so it could be used again for future workshops.
To conclude this workshop, Safecast prepared a small test where we could put our newly gained knowledge to a test.
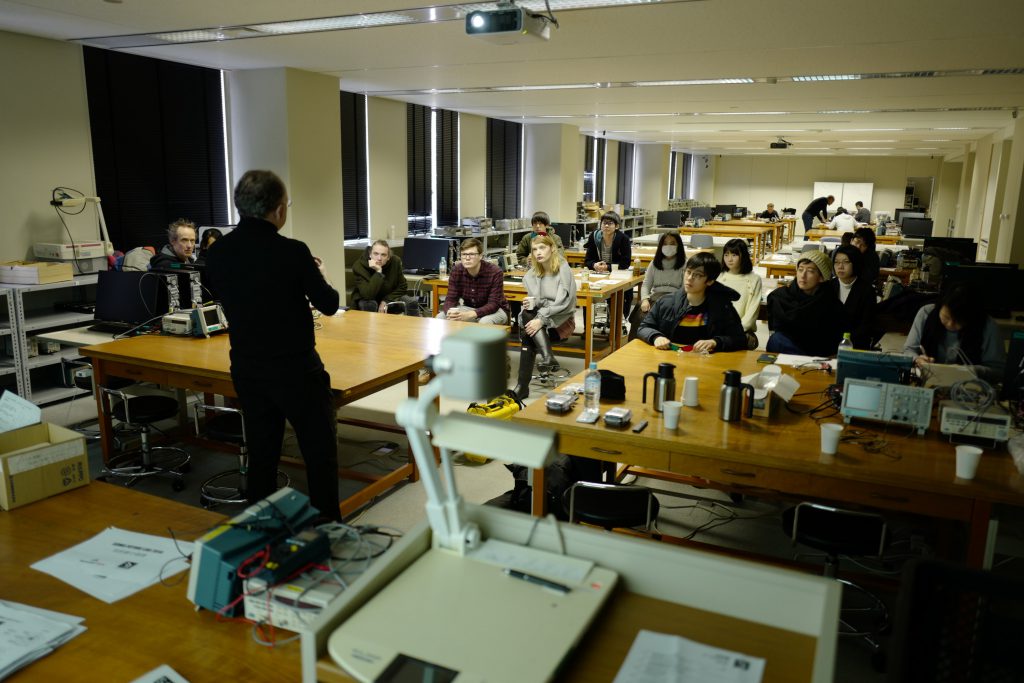
Aizu University
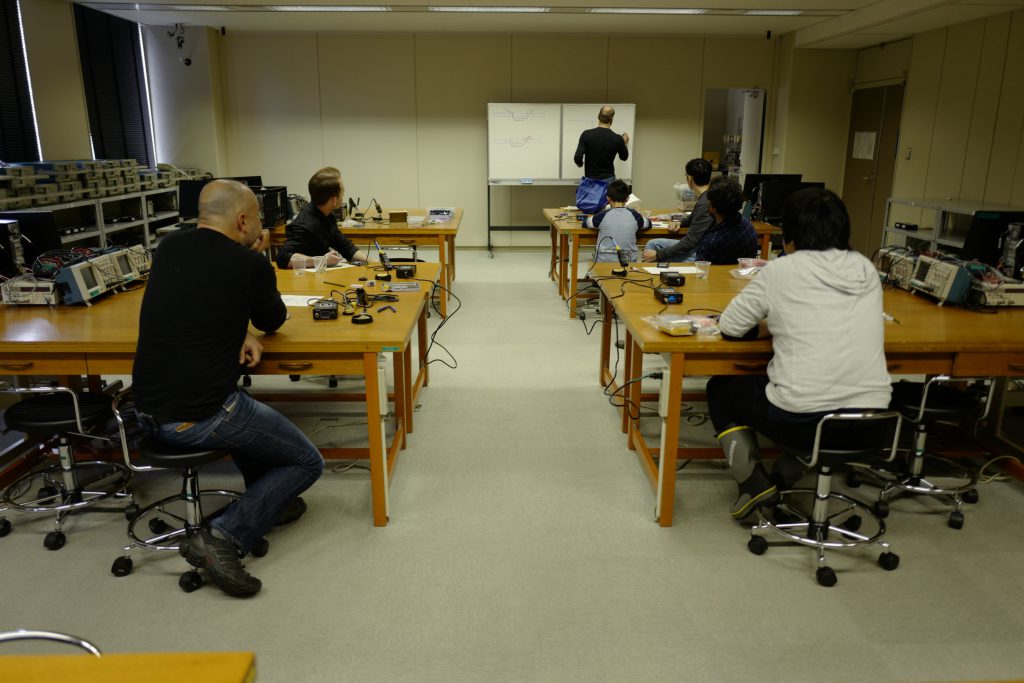
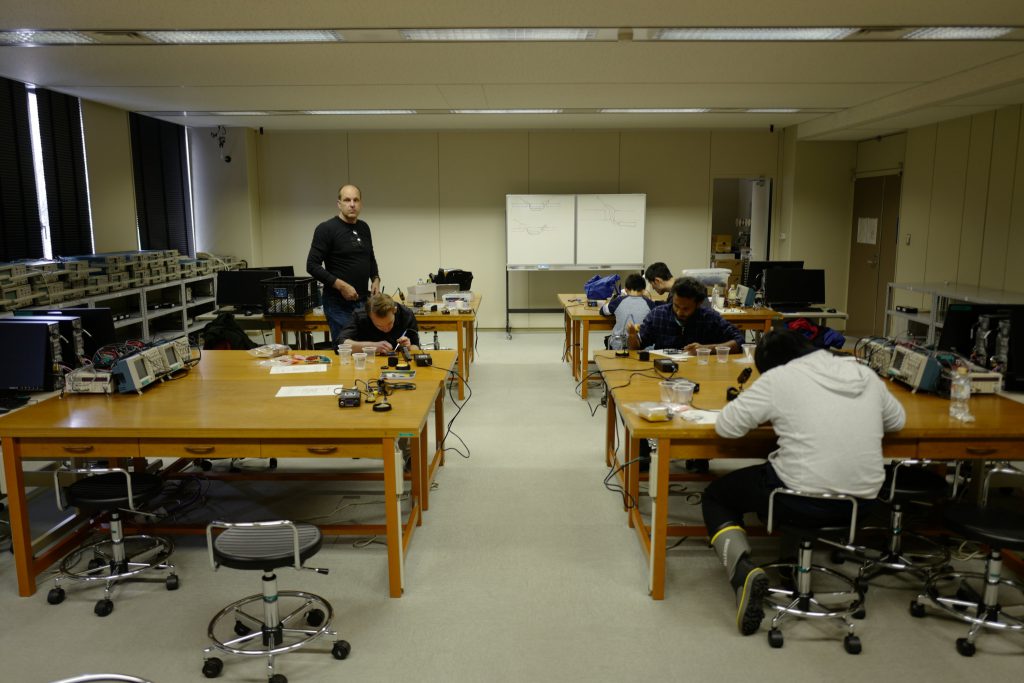
One day later, another workshop took place at the university of Aizu. To be more precise, two workshops. There were two different workshops, that took place simultaneously. One was again a citizen science workshop and the other was a bGeigie workshop. The citizen science workshop was in general the same as the day before. Because of this, I participated in the bGeigie workshop this time.
bGeigie
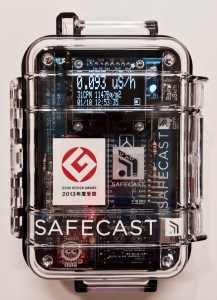
But before I explain, what we did on the bGeigie workshop, I think I should first explain what a bGeigie is. Like I explained earlier, Safecast has built their own Geiger counter. As time went on, they improved the counter further and developed the bGeigie. The b stands for bento, like the Japanese bento box. The goal was, to get the Geiger counter as small as a bento box, so everyone can easily take it with him.
bGeigie assembling
The goal of this workshop was to assemble a bGeigie. For that, every participant got his own bGeigie-Kit, which contained almost everything needed to assemble one. In addition to that, we also got all the equipment we needed. For the most part, we only needed a soldering iron and a screwdriver. We also got a piece of paper with the exact location where to montage all the small components which we used as guideline.
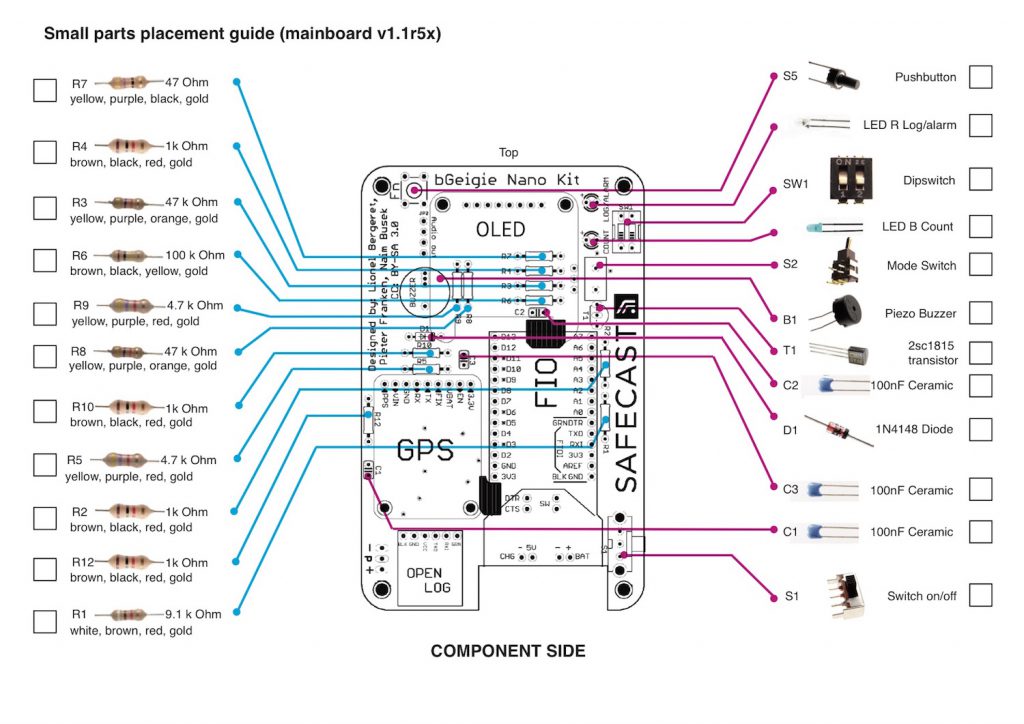
First, we got a small introduction in soldering. For that, we started mounting the resistors one by one on the motherboard. After we finished one, the tutor looked over the soldered point and if he was satisfied with it, we could continue. As we finished our first three resistors, we could finish the complete left side of the placement guide. Next was the right side with some switches and diodes. The procedure was mostly the same, we soldered some parts and the tutor looked over it. We all managed to finish mounting all the small parts just in time for the lunch break.
Upon completing the lunch, we went to mount the bigger parts. All the bigger parts needed to be on top of several male header pins that needed to be soldered afterwards. First, we have attached the Arduino FIO, a microcontroller board. That needed to be placed at the location with the FIO label you can see on the placement guide. Following the FIO were the Open Log for the micro SD card, the GPS Board and the OLED Display. Unlike the other parts, the Display needed also some female header pins in addition to the male header pins.
After completing all the bigger parts, it was time for the first test. We connected the battery and got some error messages on the display. But the fact that we saw something on the display has proven that the test was successful. In order to protect the board, we put an acrylic plate on top of it afterwards. Now it was time to fixate the battery. This was only done with some foam tape, which was used to glue the battery onto the backside of the mainboard. Of course, we connected the battery afterwards with the mainboard. With that step we concluded the top plate and moved forward to the middle plate.
There, we screwed the iRover onto another acrylic plate. The iRover controls and supplies the power for the pancake sensor. The pancake sensor is for the particle detection and was montaged shortly afterwards. But first we needed to merge the middle plate with the top plate with some screws.
After that was done, we could glue the sensor onto the middle plate and connect it with the iRover.
To protect the sensor, we put another acrylic plate on the bottom. With that done, the assembling of the bGeigie was completed.
Now we only needed to put the bGeigie into the case. The only problem here was the logo of the company who produced the case. We needed to get rid of the logo and that was harder that you can imagine. But eventually we got rid of it and put a Safecast logo on top of the case.
Testing the bGeigie
Of course, now that we finished our bGeigies, we needed to test them as well. Fortunate, the citizen science group finished their presentation at about the same time as we finished assembling. Because of that, we combined our testing with their measuring and went outside for a walk. It was snowing and way to cold, but my sensor worked as intended.
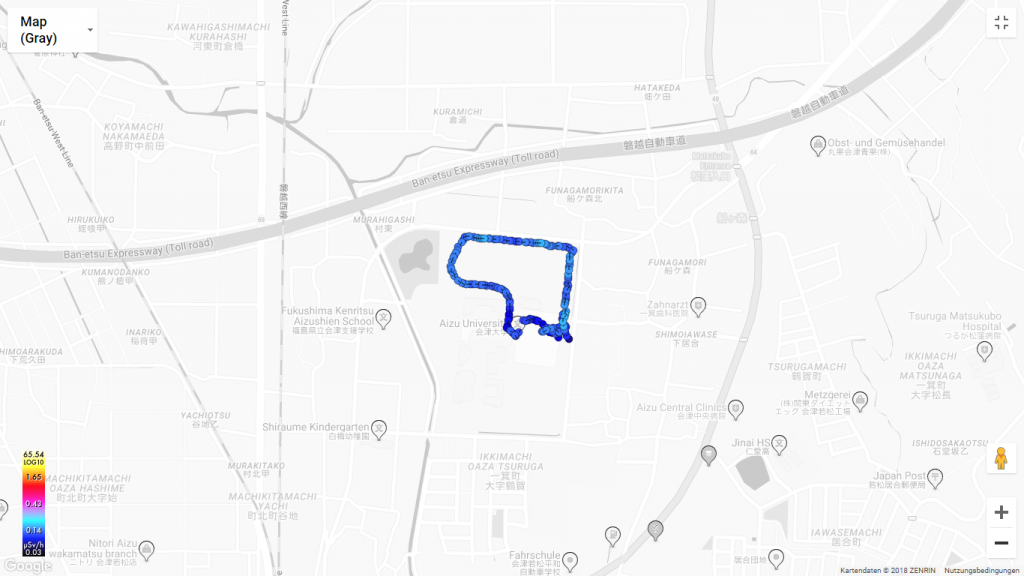
Back inside, some of the collected data was uploaded and shown. We also got a short overview about the Safecast map and what kind of information we can get there.
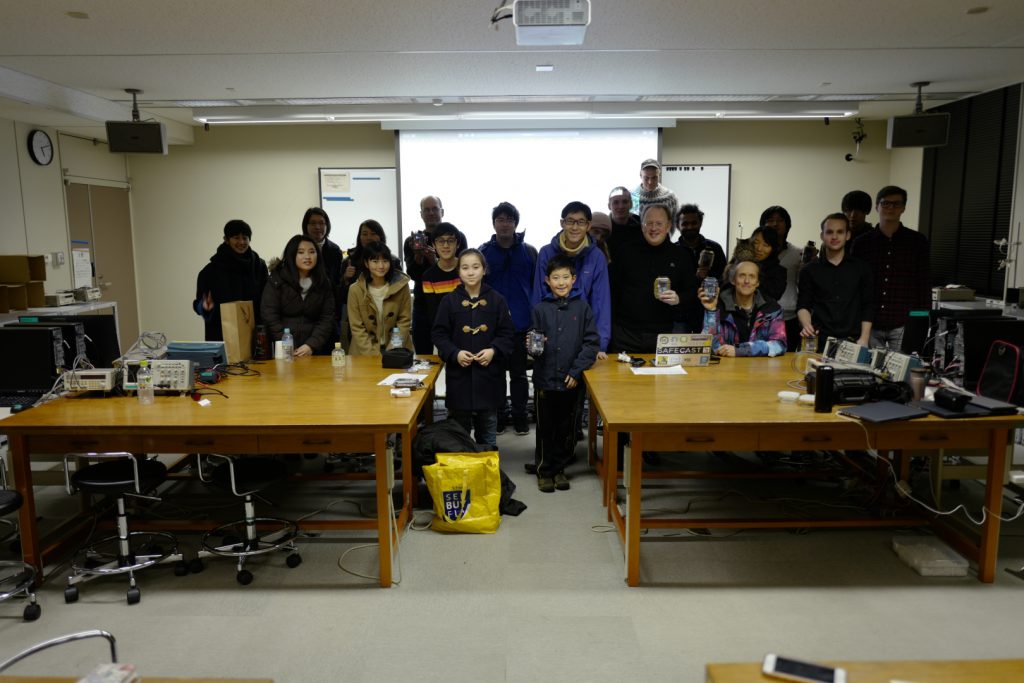
We concluded the second workshop with a group picture and started to clean up.
Conclusion
Over the weekend I learned so much new things, especially about radiation and the Fukushima Daiichi meltdown. It was also nice to do some soldering again, even if my soldering skills were a little bit rusty. It was a great opportunity to do both workshops at one weekend and I appreciate it a lot. Thanks to everyone who was involved in organizing these workshops to make them possible.
- Tweet
-

 2024/03/01
 2023/03/23
 2023/03/23
 2023/02/24
 2022/10/28
 2022/05/14
 2021/01/13
 2020/06/12