ソフトウェア & サービス
Getting Started with Python using Anaconda (Jupyter Notebook / Spyder)
Raihan Kabir
Nowadays among other programming languages the demand for Python and its developers is increasing rapidly – not only because of its popularity and wide uses but also mostly due to the fact that Python became a solution in many different areas. From web applications to machine learning and data science. It is highly user-friendly and an open-source language. Python is not only growing its popularity but also enhancing its applications in almost every field. It is building an excellent market in IT industries as well. If you want to start learning Python, you will get a well understanding by reading this article.
There are lots of integrated development environments (IDEs) for Python programming. However, Anaconda is a distribution of Python and R programming that focused on data-driven projects. Its aim is to simplify package management and deployment. Anaconda Navigator provides several IDE, among them Jupyter Notebook and Spyder is the most popular one and easy to work with. I will explain all the tools that you need to start with Python and Anaconda.
Setting up the environment
First, you need to install the Anaconda distribution software. It has Operating System (OS) compatibility with Windows, macOS, and Linux, including Ubuntu, RedHat, CentOS 7+, and others.
- You need to download the latest software from the link: https://repo.anaconda.com/archive
- After downloading you need to install it.
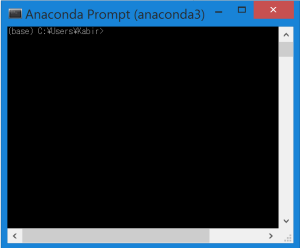
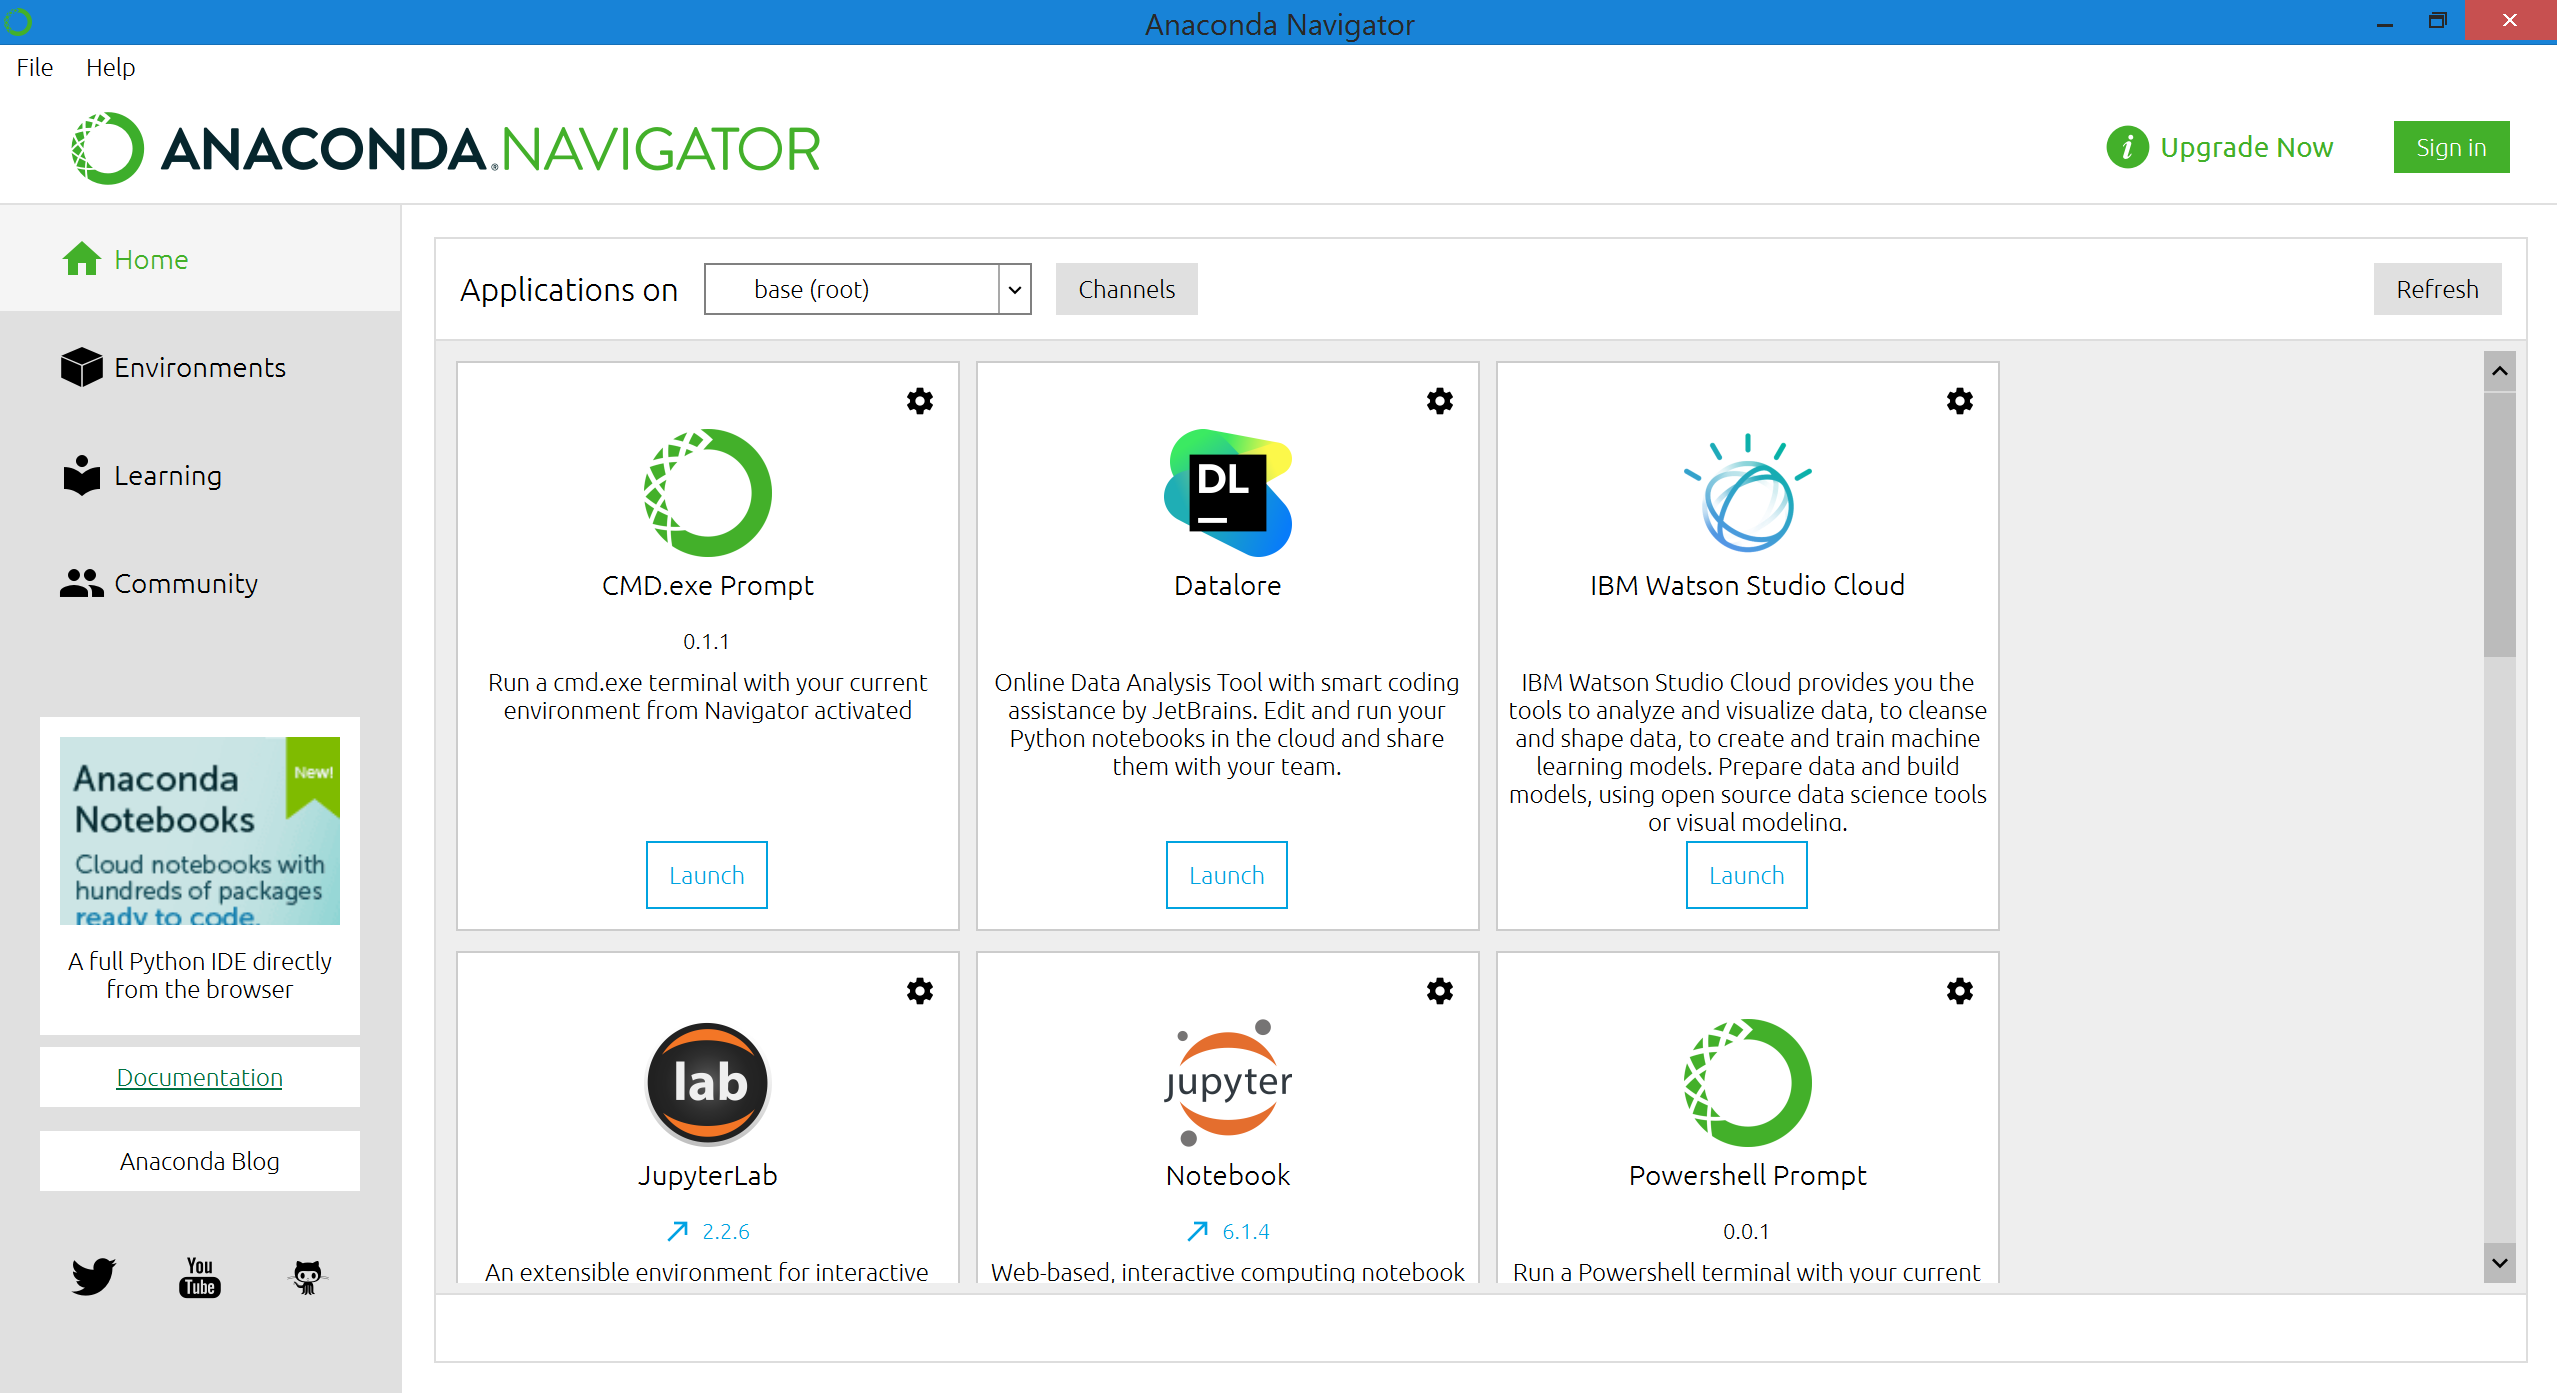
After installation you will find the Anaconda Navigator and Anaconda Command Prompt like the image below:
Install Python IDEs in Anaconda (using Navigator / Command Prompt)
As I mentioned Anaconda is a distribution so it provides several IDEs and lots of open-source packages. To start with python you need to install an IDE.
- First create a working environment, where you will install your IDEs and python packages. You can create as many environments as you like. These environments are helpful for running several projects with a different setup of python packages without any conflict.
- Then you can install the IDE and your desired python packages in that environment. However, the procedure to install IDEs and packages is different for the Anaconda Navigator and Anaconda Command Prompt.
Install using Anaconda Navigator:
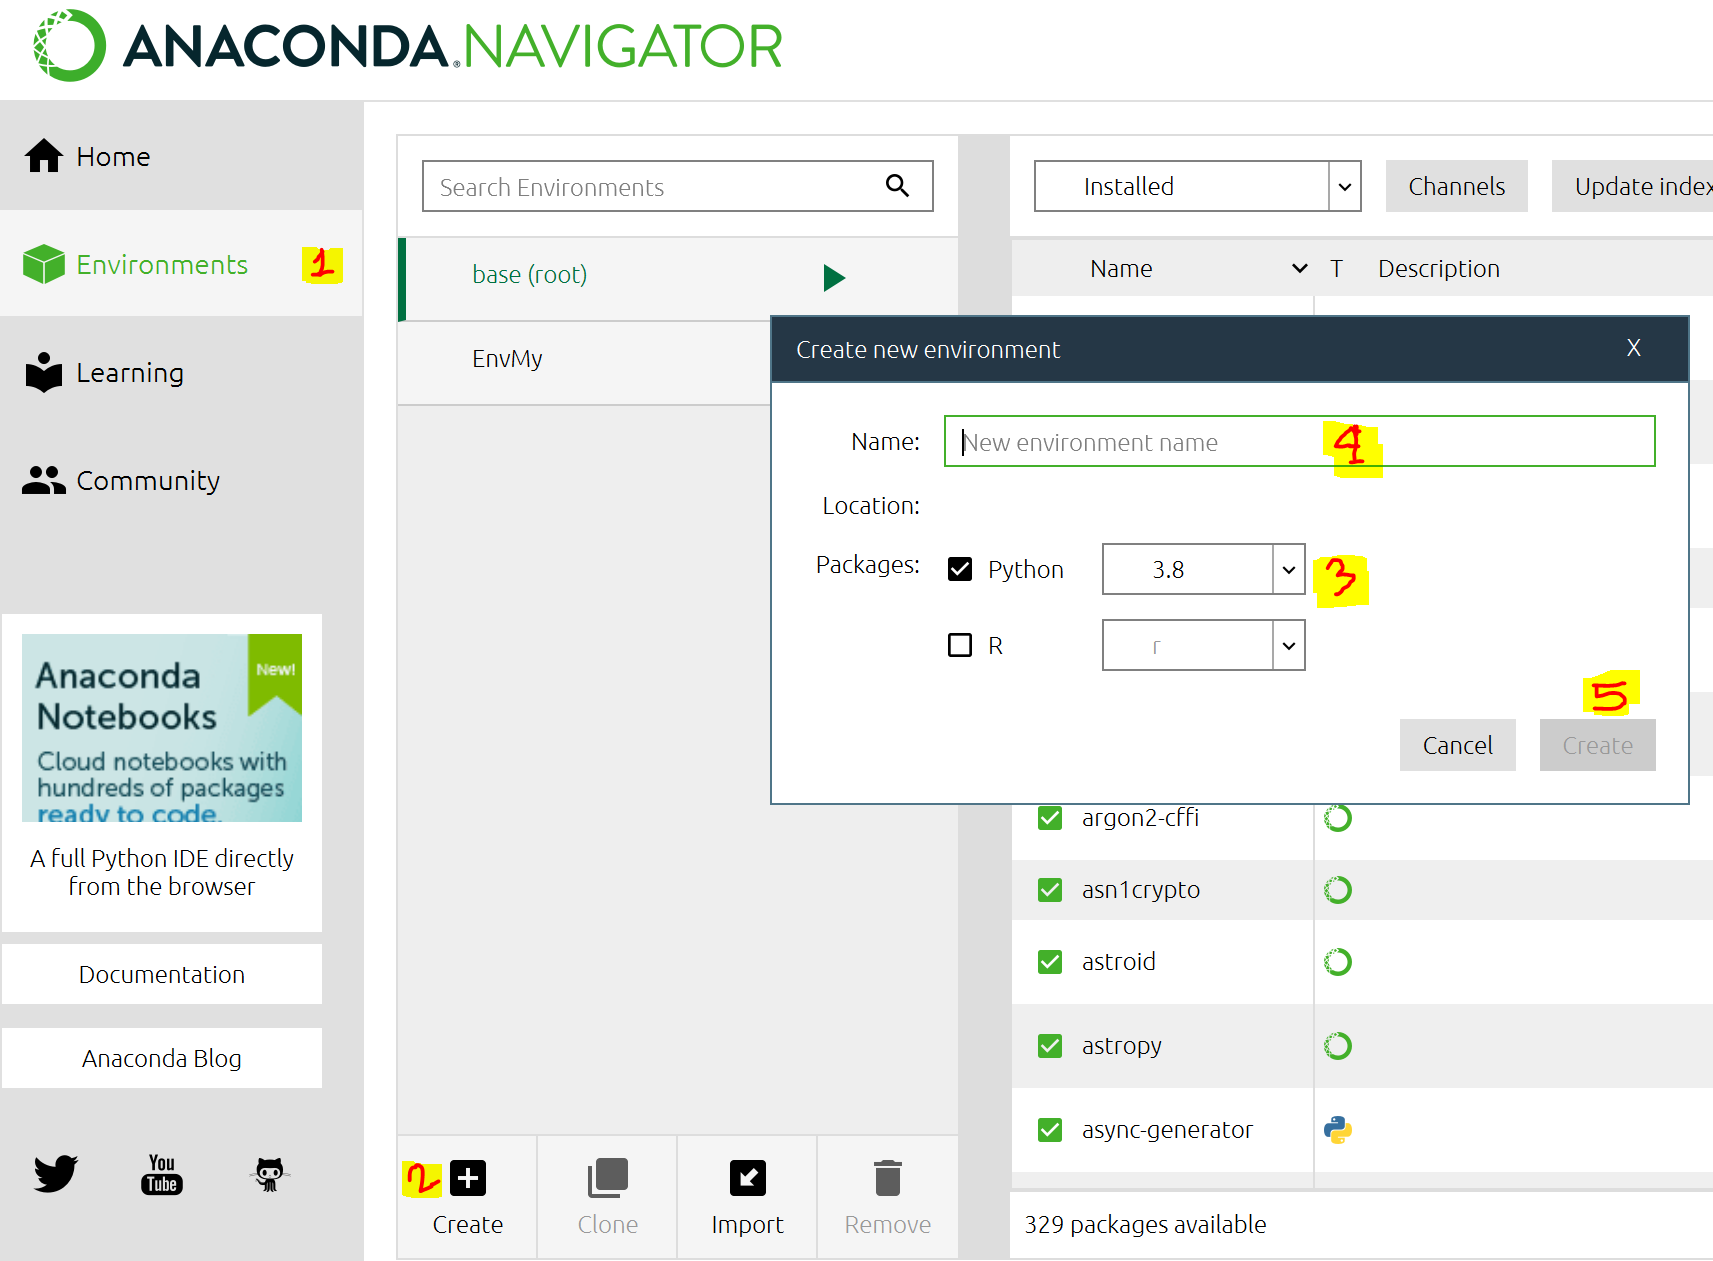
- In the navigator click on “Environments” [as 1 in the below figure]
- Create the environment by clicking on “Create” [2] and a new Popup box will appear. On that box, you need to select the python version [3], Write the environment name [4], and then create [5].
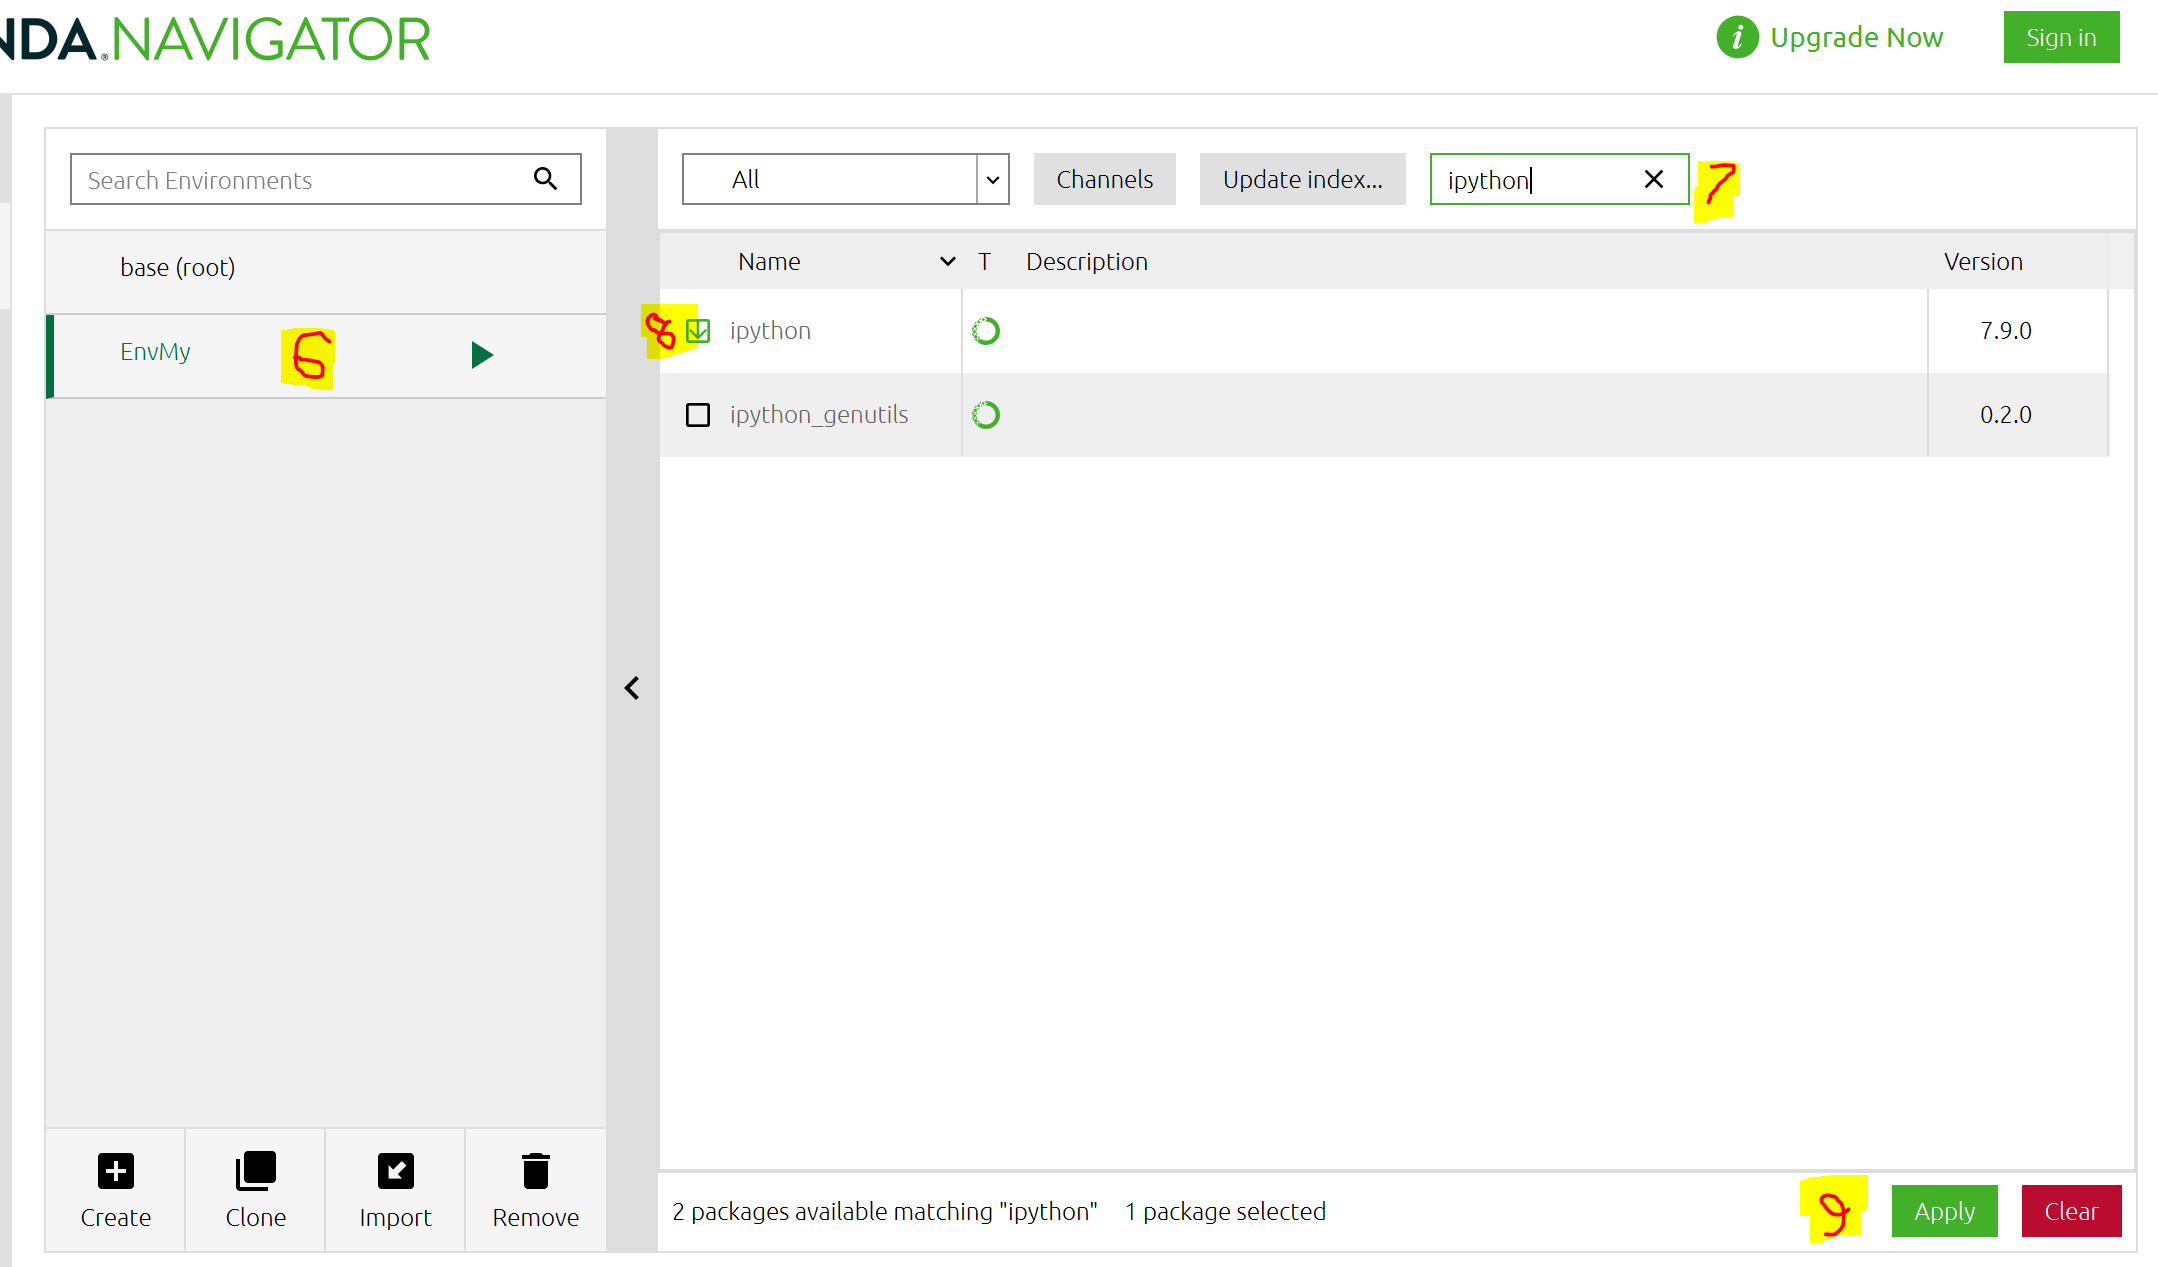
- After creating the environment you can install the IDE and packages by selecting the environment [6] you created.
- To do so, you can search for the packages [7] you want and select [8] all of them and click Apply [9]. Your packages and IDEs will be installed.
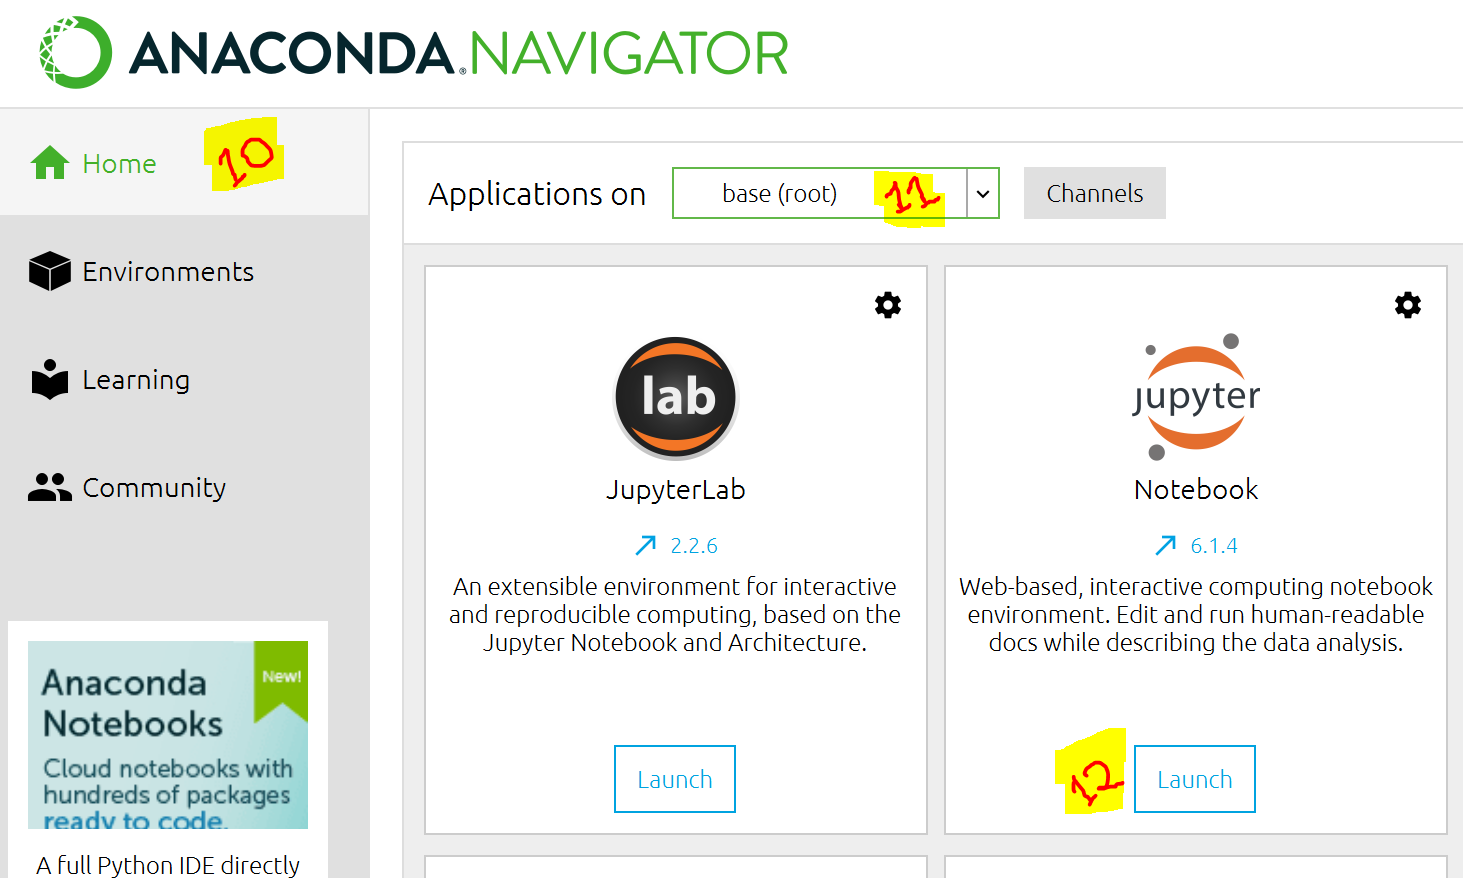
- You can lunch those IDEs [12] from the Navigator home [10] page but you need to select the proper environment [11] on which you want to work.
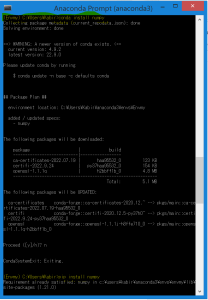
Install using Anaconda Command Prompt:
In order to install the IDEs and packages using the Anaconda command prompt, you need to lunch the Command Prompt and then follow the procedures as follows:
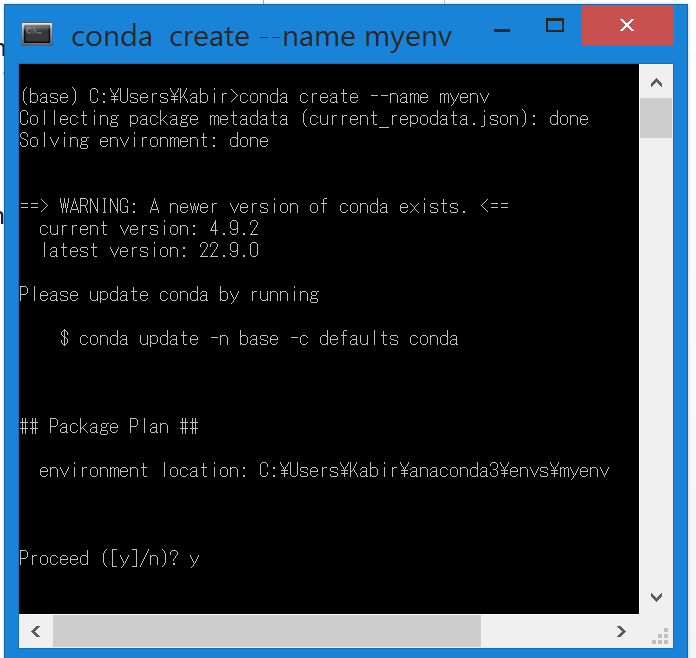
- To create an environment:
conda create --name myenv (Replace myenv with the environment name.)- When conda asks you to proceed, type y:
proceed ([y]/n)?This creates the myenv environment in /envs/. No packages will be installed in this environment.
- To create an environment with a specific version of Python:
conda create -n myenv python=3.9- To create an environment with a specific package:
conda create -n myenv scipyTo activate the new environment:
         conda activate myenv
or, activate myenv- Verify that the new environment was installed correctly:
conda env list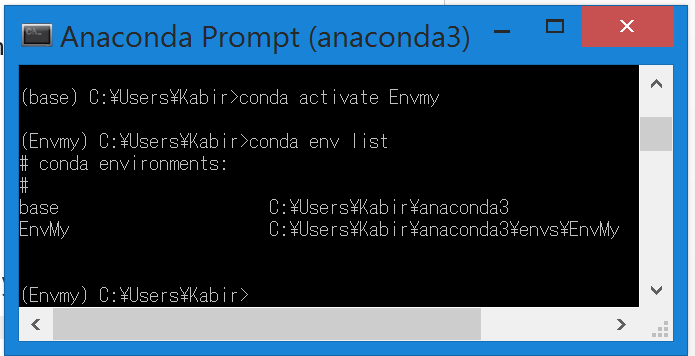
After activating the Environment you can install the desired packages in three different ways:
conda install package_name Pip install package_name Pip3 install package_nameBut for the way 2nd and 3rd you need to install the package pip for python2, and pip3 for python3.
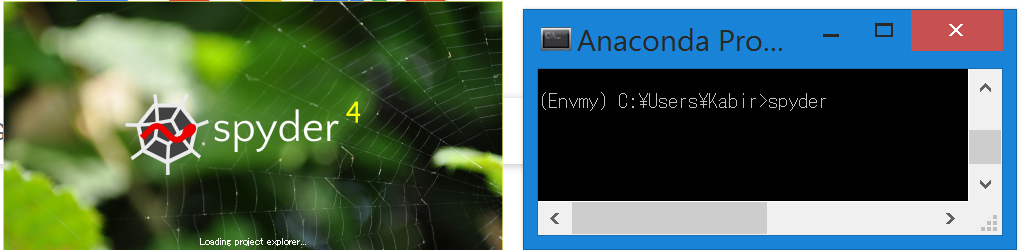
To lunch the IDEs from Anaconda Comand Prompt, activate the desired conda environment and then just type:
jupyter notebookTo lunch Jupyter Notebook IDE.
spyderTo lunch Spyder IDE.
Python programming using Spyder / Jupyter Notebook:
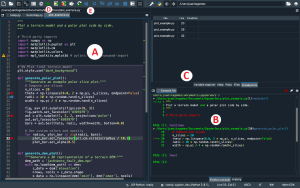
To start coding in Python programming language using Spyder IDE or Jupyter Notebook is very easy and the graphical user interface (GUI) is very user-friendly.
In Spyder IDE, as shown in the figure below [A] is the code editor, [B] is the python console, [C] is the variable explorer, [D] is to run the code from the current editor, [E] is to run the code in debug mode.
In Jupyter Notebook IDE, as shown in the figure below [1] is the file name, [2] is the code editor, [4] is the python console, and [3] is to run the code from the current cell. This IDE has no debug mode instead of that you need to divide the code into several cells.
Some python code examples and helpful websites to start learning this programming language:
Print “hello world”:
print('Hello, world!')Find prime number:
num=11# If given number is greater than 1ifnum >1:# Iterate from 2 to n / 2foriinrange(2,int(num/2)+1):# If num is divisible by any number between# 2 and n / 2, it is not primeif(num%i)==0:(num,"is not a prime number")breakelse:(num,"is a prime number")else:(num,"is not a prime number")
11 is a prime number
Helpful Websites:
Also, you can get started with Deep Learning in Keras and Tensorflow using Anaconda. Please check our previous post that may be helpful for you:
Final notes:
If you want to be an expert in programming languages, you need to learn at least one programing language perfectly. Nowadays, Python is a demandable, user-friendly, and open-source language. From this article, I hope you got an understanding of how you will start and learn Python by practicing in several IDEs. It may help you to start with Python. Also, you can check the blog and website links that I provided which might help you to be an expert in python.
- Tweet
-

 2023/08/18
 2022/12/23
 2022/11/18
 2022/10/14
 2022/09/09
 2022/08/19
 2022/07/22